

Once upon a time J picked up my dry cleaning. The dry cleaners were holding a sale of abandoned clothing. There was a pretty dress. J knew I was looking for a pretty dress. It was $.50. This was guaranteed to make me happy!
How can you not be happy when your husband is such a sweetheart (and understands your frugal ways!)? Unfortunately...it's a size four. I'm pretty sure the last time I was a size four Clinton was still in office. I offered it to my BFF (tiny!) but, alas, it didn't fit her either. I meant to donate it. Then I forgot all about it until I started hunting around the house for fabric to make some throw pillow for the couch. This dress became pillow one.
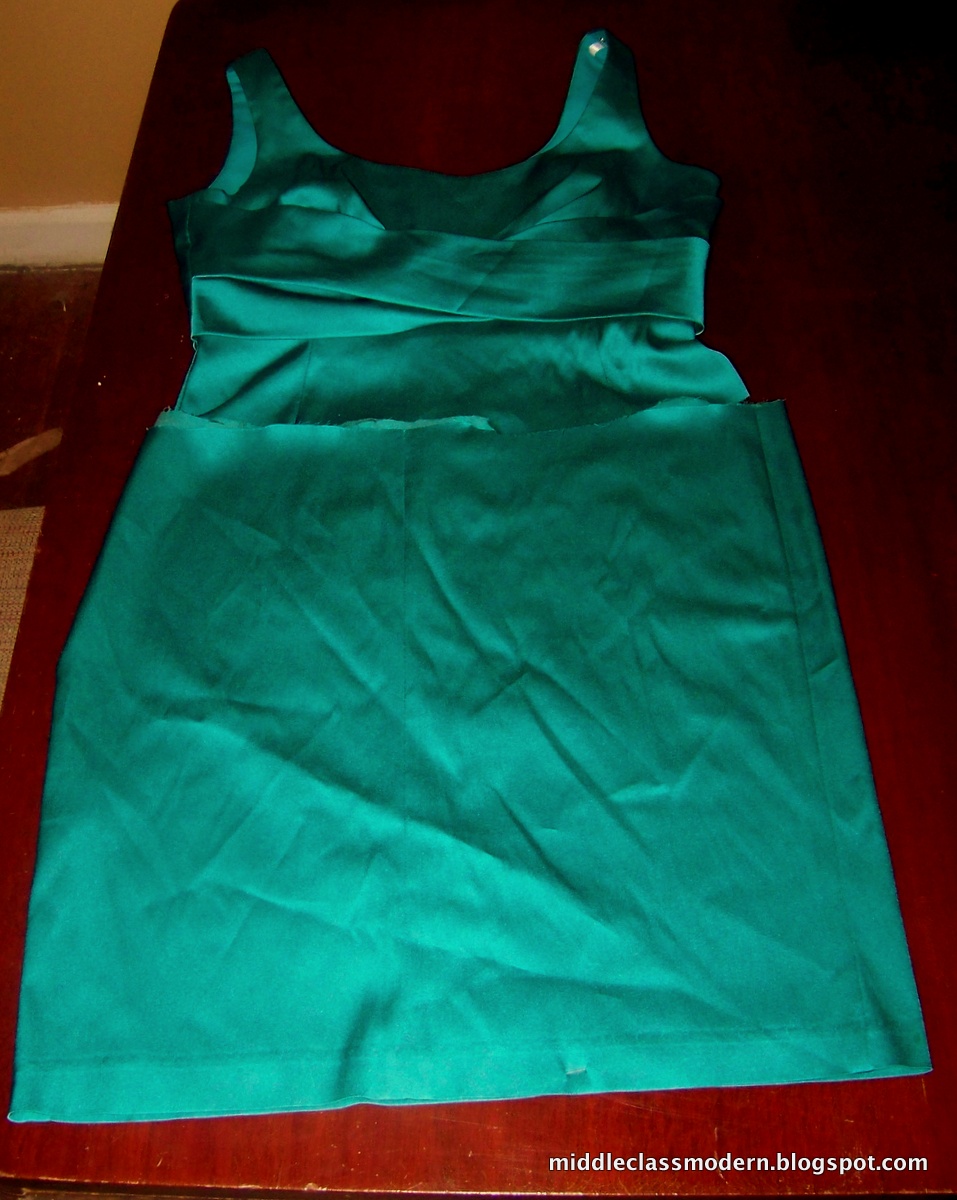
As you can see in the photo above (because I forgot to take a picture of the dress whole) I cut off the skirt from the bodice.

Then I rifled through my pattern stash and came up with Sublime Stitching's Labyrinth. How do you use a transfer embroidery pattern? Cut it out, decide on your spacing, and with a very dry and very hot iron heat your fabric first. This is very important. Then place your pattern facedown on the fabric and place the iron flat down on top of the pattern. Don't move the iron. Lift up and you'll have a clean imprint. This fabric didn't take to the imprinting process very well, and I got rather hazy results. This meant it took FOREVER to stitch it, because I had to sit next to very bright light and could only work on it for small amounts of time. Eye strain is real, people!

A close-up of the pattern! I worked it in split stitch (which is also called chain stitch). You could work it in backstitch. I think split stitch helps give it a sense of motion, which is nice for a labyrinth! For split stitch, thread your needle with an equal number of threads (I used two). Start like you are backstitching, but bring your needle up through the middle of your last stitch. Or check out the tutorial. It's better.

After finishing the embroidery I laid it out against the pillow insert. You want your pillow cover to be a little smaller than the pillow, to give it that wonderful, over-stuffed look.

Now I needed to finish turning this former dress into a pillow! I turned it inside out and quickly back stitched the top of the pillow closed (this was the non-hemmed part of the skirt from where I cut it
from the bodice. Then I trimmed up the craziness!
Also, see the green of the thread? Yeah, the fabric is actually that same color. I don't know why the fabric's color is so off in pictures! I played with every setting. Must be something about the makeup of the fabric?

Then I stuffed the pillow into it's new home. See how it kind of looks like a person wearing a top a couple of sizes to small? While that's a human fashion faux-pas, it makes for a better looking pillow. Then I just basted the hemmed portions together. Why? Because when the pillow cover needs cleaning it'll be easier to remove the pillow. When this happens I'll probably add snaps or velcro (not zippers, because sewing in zippers scares me).

Here's a close up of the top of the pillow. Y'all, I'm obviously keeping it real since I'm showing you that gaping stitch which will now proceed to drive me crazy.

Yay, a pretty pillow for my hated leather sofa! True story, it was very difficult to take pictures of the finished pillow because all three pets (Emily, Nola, and GuestDog) were photobombing like CRAZY. After I yelled "I just want this pillow to look nice for ONE DAY! I WANT MEMORIES THAT THIS WAS A CUTE PILLOW BEFORE IT IS DESTROYED!" Emily ran off to the bedroom close to tears ("I don't tear things up, why is she yelling at me?" was her obvious thought pattern), Nola stalked off to the kitchen ("I don't even have claws. But now? Revenge will be mine!"). GuestDog continued to jump on the sofa. Also, GuestDog? The only pet in the house that's ever actively destroyed anything. Sigh.

So after making up with Emily and Nola I moved the pillow over to our little knock-off Saarinan side chair. Which I love. Because it is to small for GuestDog to jump up on.
So that's how you upcycle a dress into a cute throw pillow. Total cost? $0. I already had the pattern, thread, fabric, and pillow form.
Find this post at The Trendy Treehouse, My Merry Messy Life, Practically Functional, Sugar and Dots, Ginger Snap Crafts, Pincushion Creations, Clean and Scentsible, Lady Behind the Curtain, Things Crafty, Two Yellow Birds Decor, A Glimpse Inside, The Crafty Blog Stalker, Seven Alive, Glued To My Crafts, The Shabby Creek Cottage, Made In A Day, Katie's Nesting Spot, Happy Hour Projects, Diana Rambles


so frugal! Love it!!! (BTW, my husband would do something like that. But hey at least he bought it too small. If my husband bought it to big, I would hit him with my shoe lol) Anyways, thank you for linking up at Glued To My Crafts Thursday Obsessions. Hope to see you next week!!!
ReplyDeleteHave a great weekend!!!
Wow, I love it! You did a fabulous job on that. :-)
ReplyDeleteBeautiful! I love how you re-purposed the dress! Thanks for linking up at my Pin Me Linky Party.
ReplyDeleteWhat a great idea to use upcycle the dress! I love the swirly stitch design on it. Thanks for sharing at Hookin On Hump Day!
ReplyDelete